
SILFUR STÍLL / BRONS ÚTIBÚ [02-03.2019]
A HAMMERED .925 SILVER STYLUS
and
A 3D SCANNED AND CAST BRONZE STYLUS
This project started because of an accident.
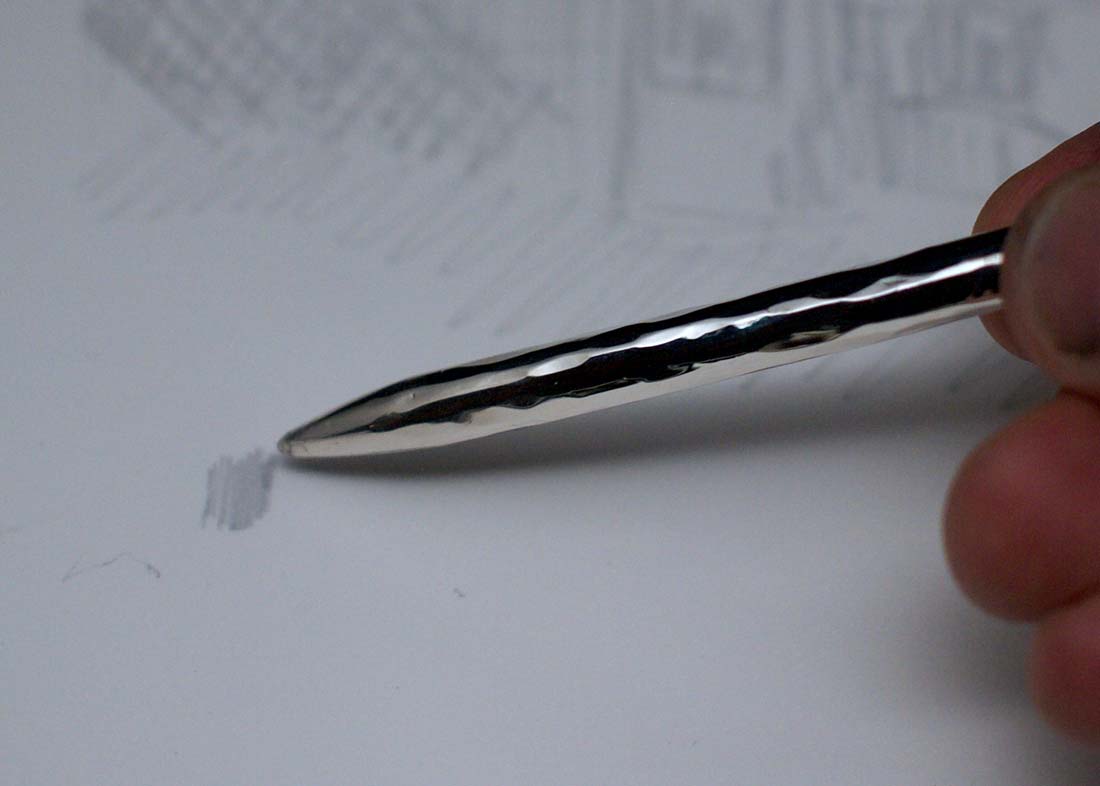
I happened to brush my silver ring against a page in a stone paper notebook I purchased and noticed that it left a mark. I investigated further and found that copper, bronze, and aluminum foil also left marks. I tested other types of paper and found that thermal paper behaved similarly. (Did you know thermal paper - the stuff that receipts and shipping labels are made from - is hazardous? I didn’t know that either, here’s what I found out. TL;DR - touch it as sparingly as possible.)
I was proud of myself for having discovered this property but like most ideas, it’s not particularly new.

Leonardo da Vinci was one of the greatest practitioners of silverpoint. You can see some of his silverpoint sketches above. If you want to practice traditional silverpoint you have to treat the paper or canvas's surface with a binding agent. That surface treatment allows the paper to bite a tiny bit of metal in order to leave a visible mark. In the past, this was done using animal hide glue with finely ground bone ash but now can be accomplished with acrylic gesso.
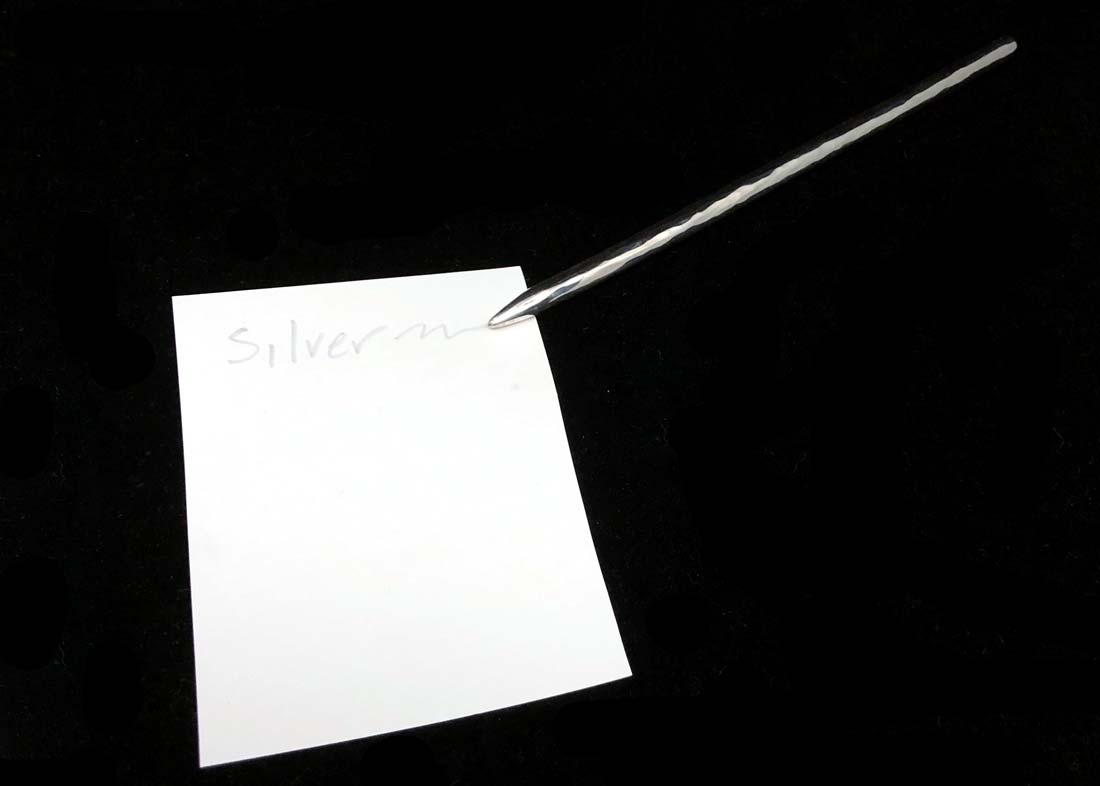
I'll still pat myself on the back for being the first person to demonstrate the efficacy of using stone paper for silverpoint. At least my discovery of medium is novel - and more convenient since using stone paper does not require any sort of surface preparation.
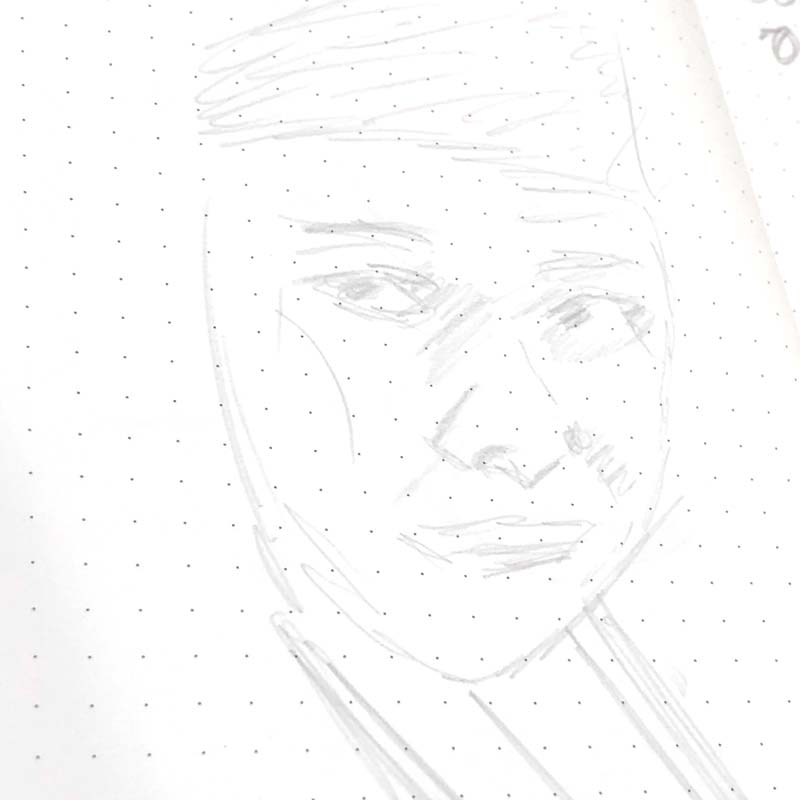
I'm no Leonardo, but being able to sketch and write using a piece of metal is fun. And the prospect of never having to buy another pencil piqued my imagination.
I went a little overboard.
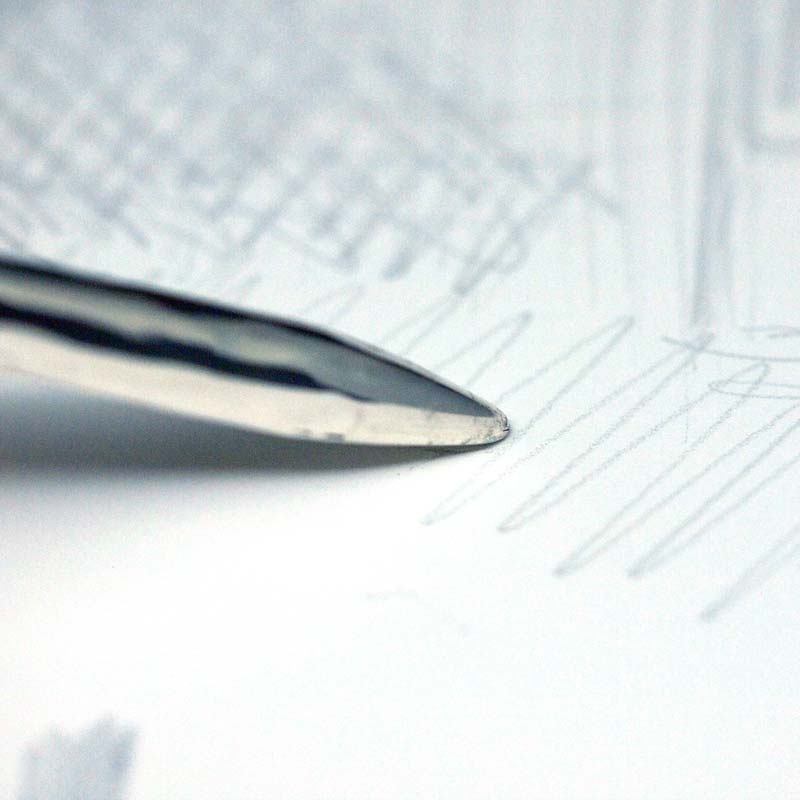
SILVER STYLUS
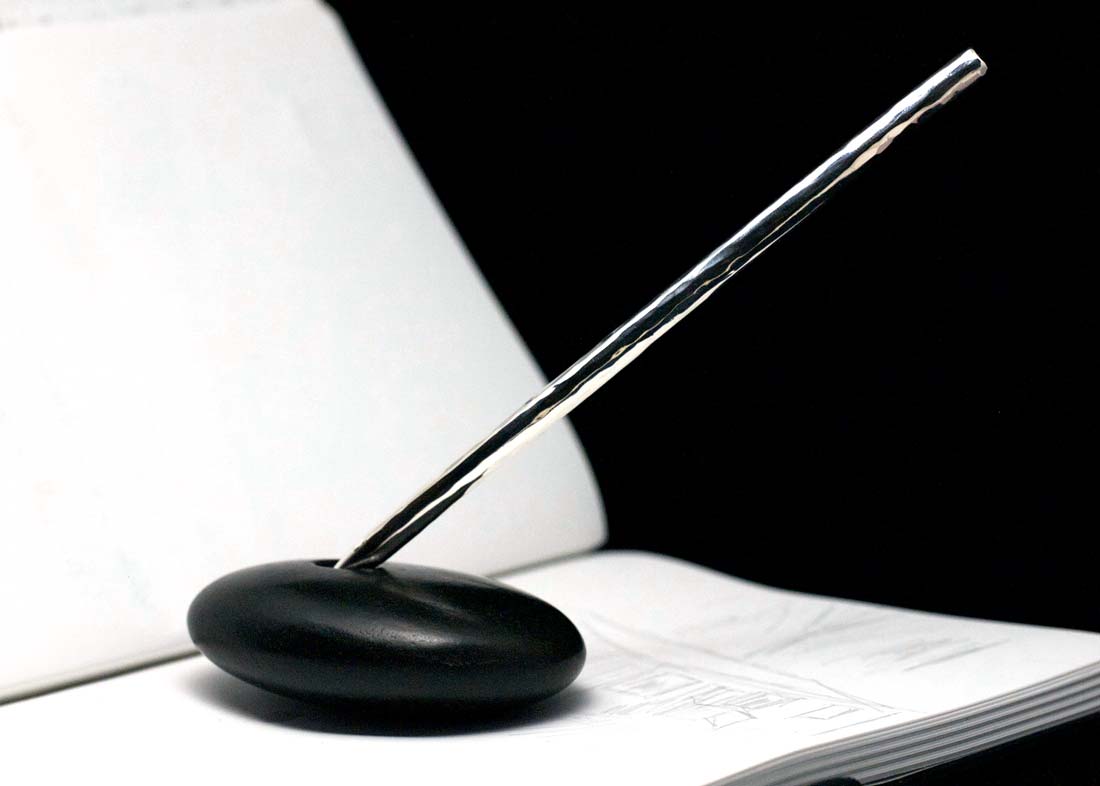
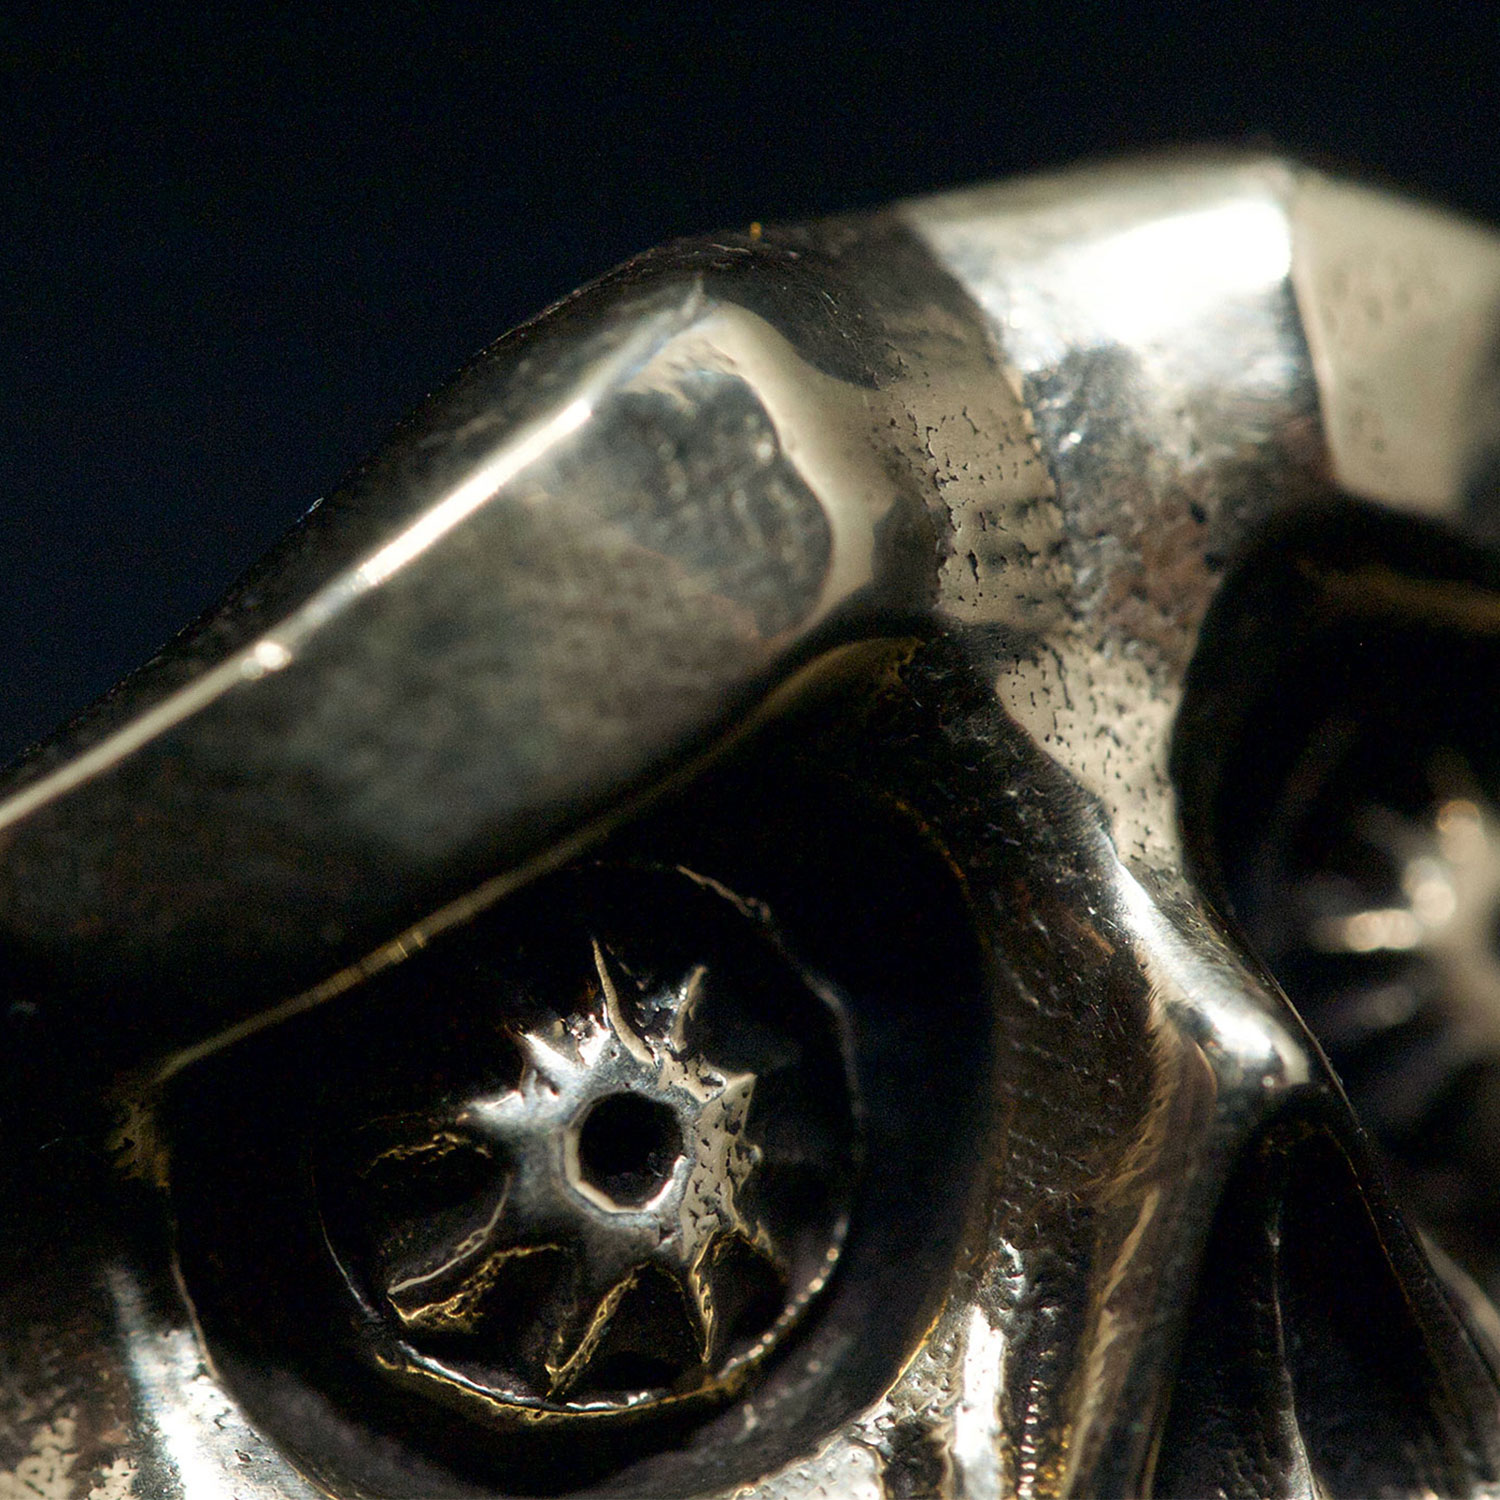
The silfur stíl (Icelandic: silver stylus) is made from a rod of solid sterling silver. LIke Thor, I fashioned the pencil-like tip and the disco-ball like texture on the barrel after an hour or two of pounding it with a chasing hammer.
I highly recommend undertaking this little project if you have some stress and want to do something positive with it.
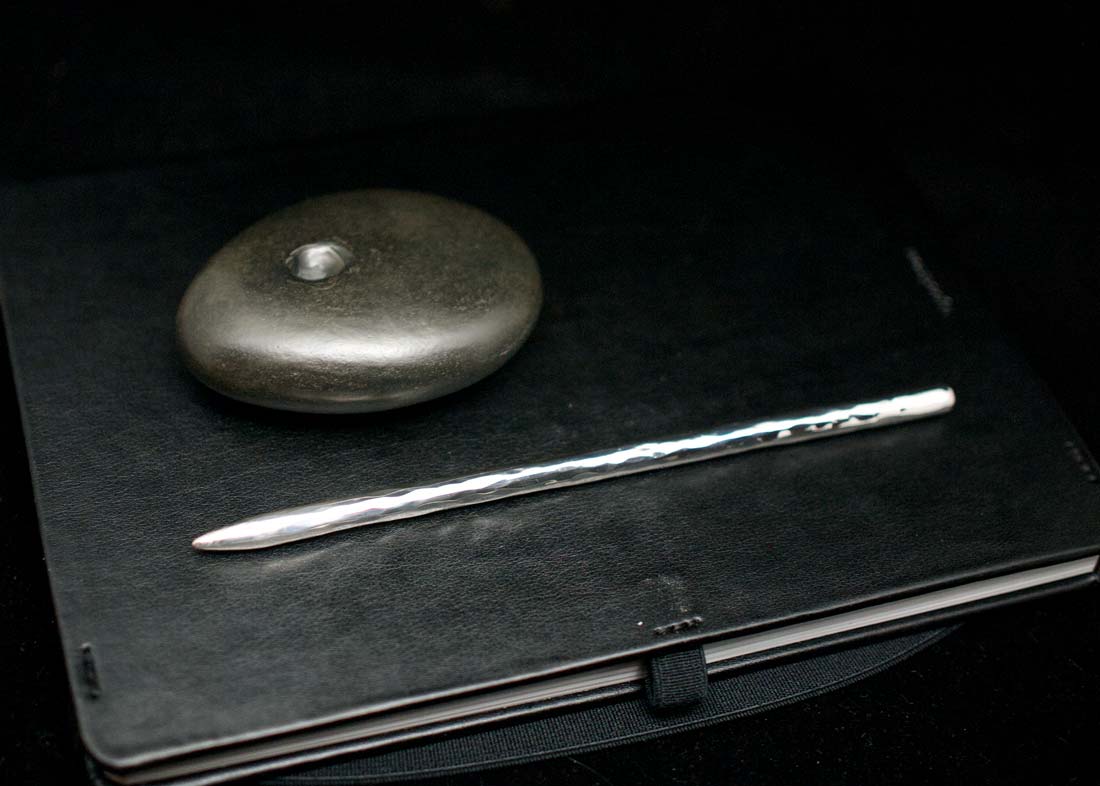
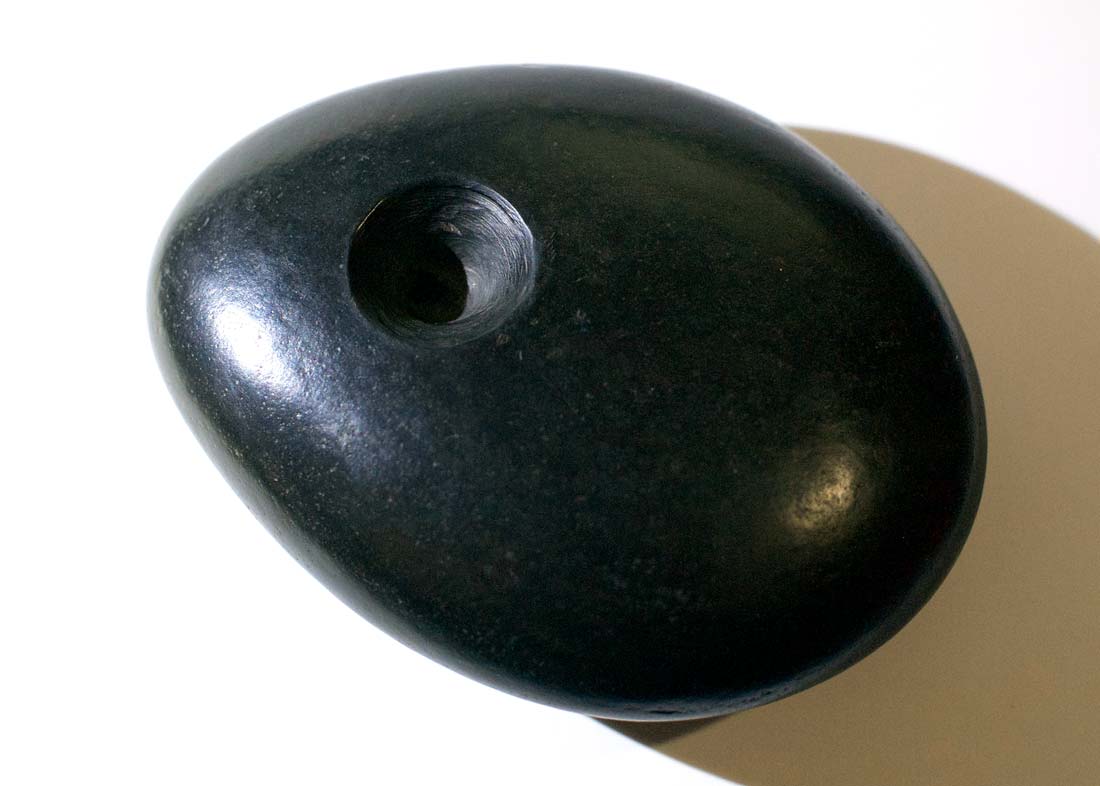
I eventually concluded that the stylus needed some sort of holder. On my last trip to Iceland, I lugged home a good number of stones that I had gathered at a beach outside of Vík. These blueish stones (some are more black and some are redder) are wonderfully round and smooth from the tumbling the North Atlantic gives them.
I decided to use one of those stones to display and hold the stylus. Using a diamond bit, I bored a stylus sized hole into the stone and then polished until it looked like a gorgeous brown tear - or for the culinarily inclined, a big raisinet.
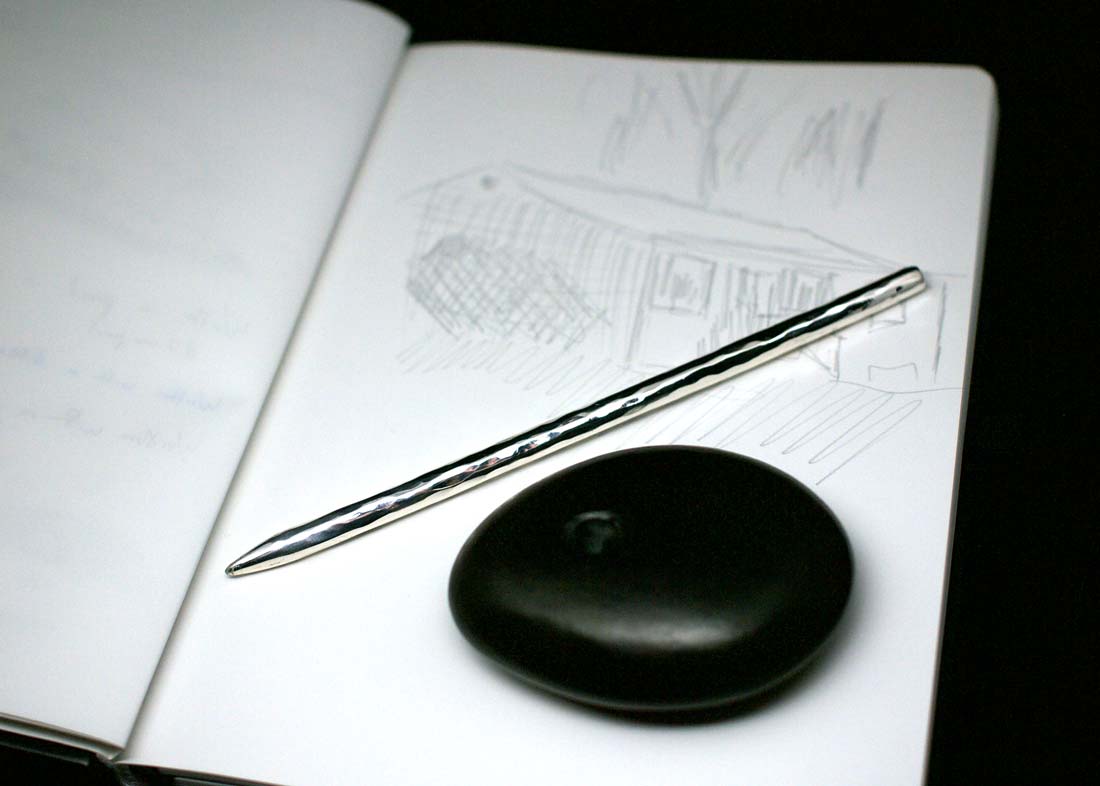
After all the hammering, chiseling, and polishing I felt like a proud dwarf from Lord of The Rings; I had used a hammer and metal to form a magical object.
The only downside - which is an upside - is that I got a whole lot of ideas for things to make with my stash of Icelandic stones which means I will run out and have to replenish my stockpile sooner than anticipated. Not a bad reason for another trip north.
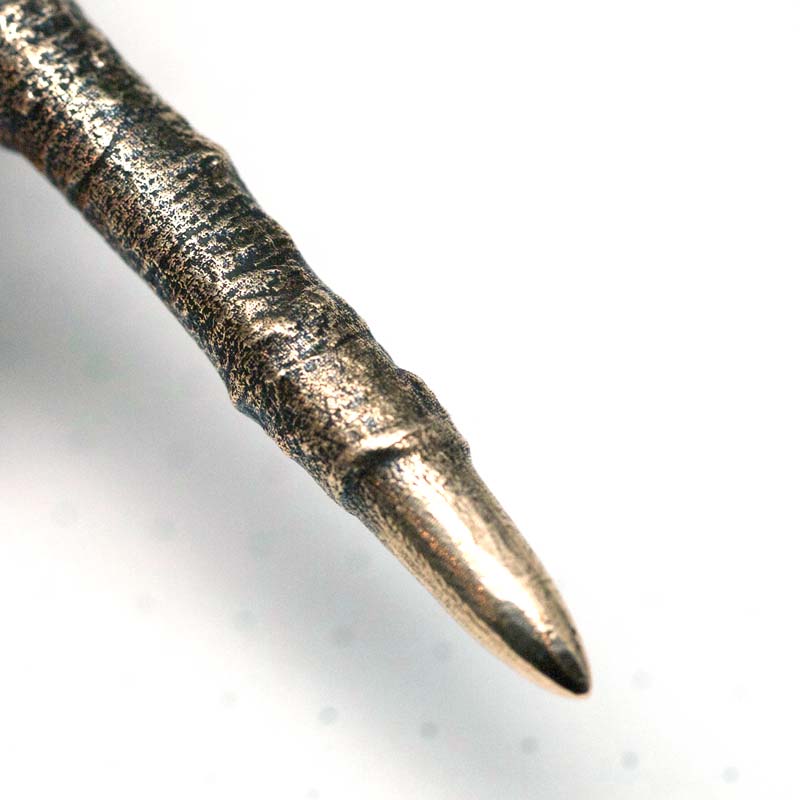
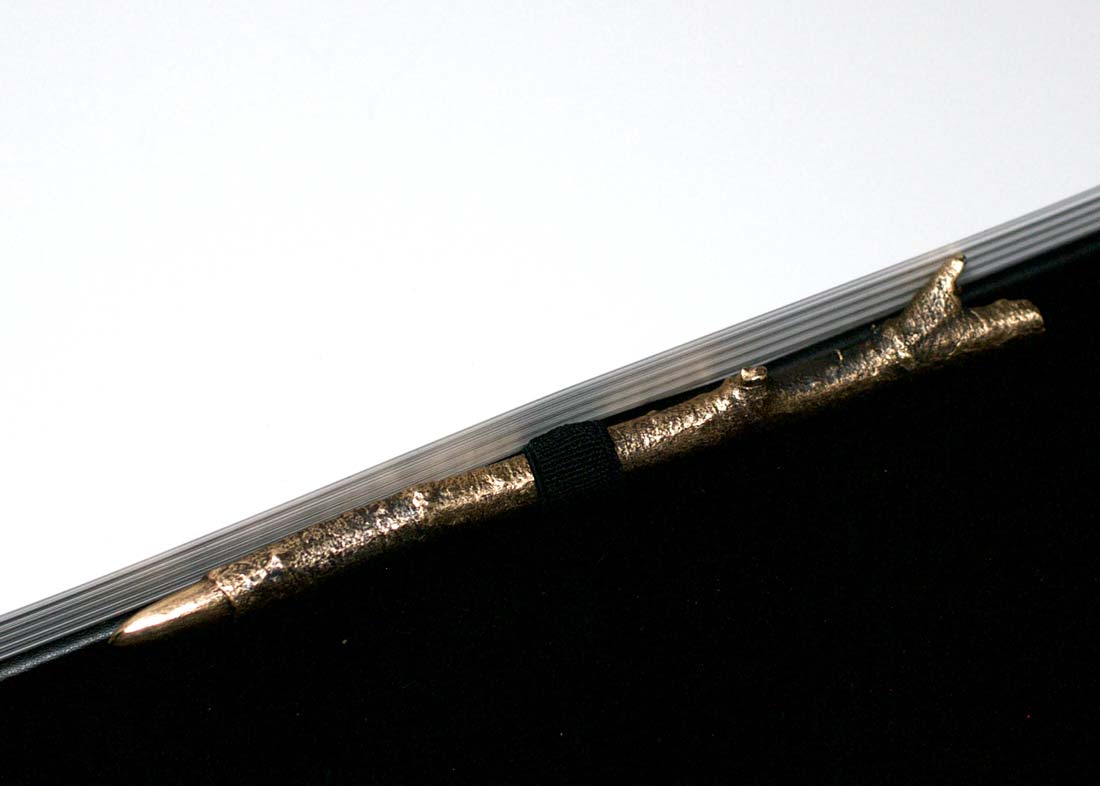
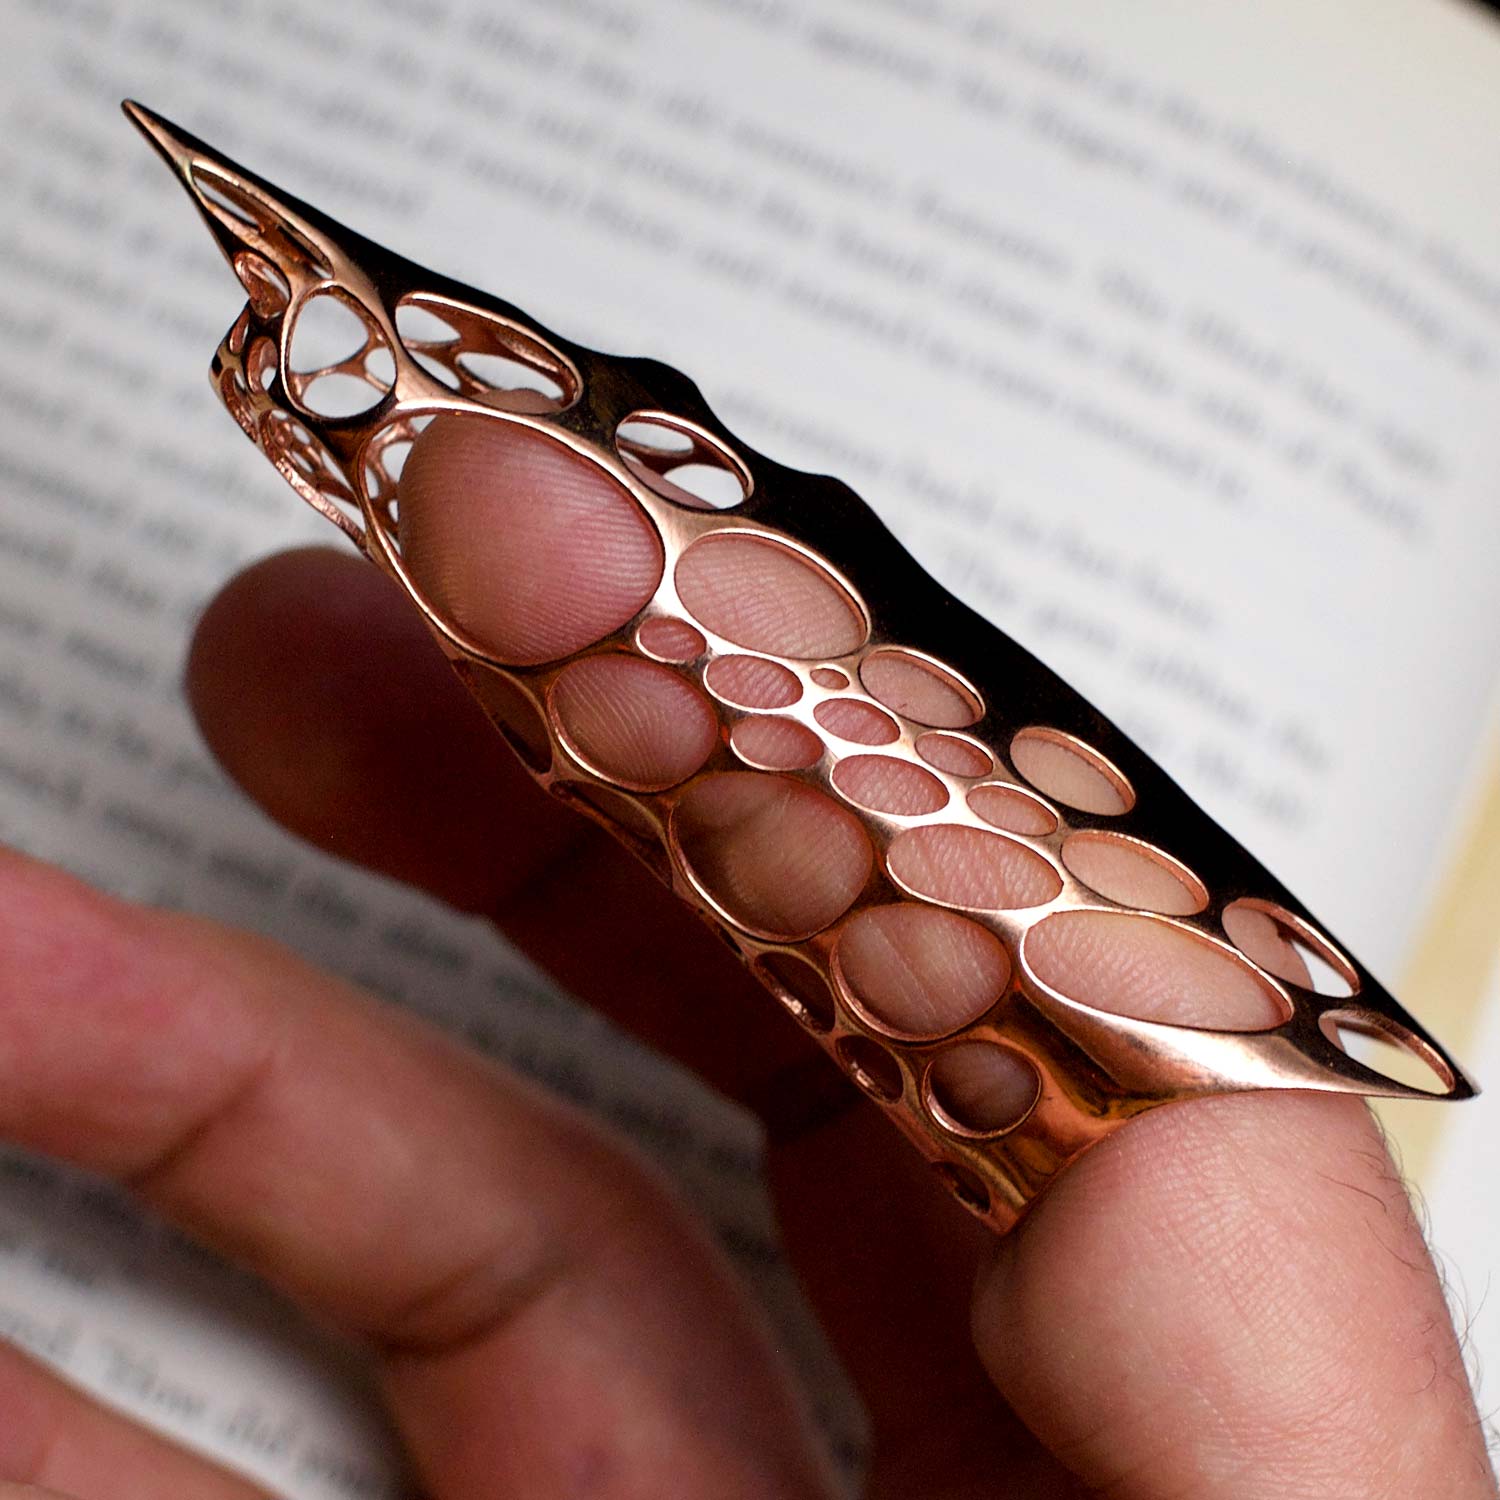
BRONZE BRANCH

After finishing the silfur stíl, I was done with hammering. I wanted something more natural for my second metal stylus and decided to turn a branch or a twig into a stone paper writing instrument.
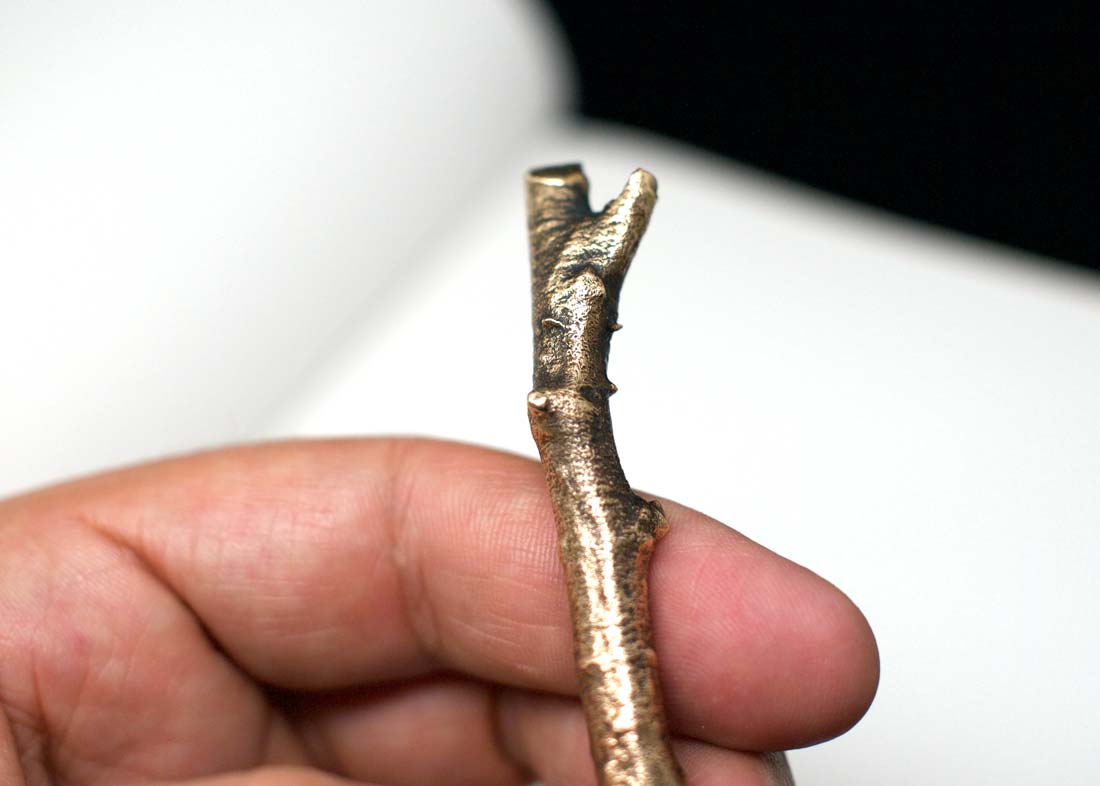
To bring my idea to life I got some help from halfway around the world. The twig I used was scanned several years ago by K’s Design Lab in Chiyoda, Tokyo. They uploaded it to Sketchfab with a CC Attribution license which allowed me to modify their work as long as I gave credit for their scan.
Here is their scan:
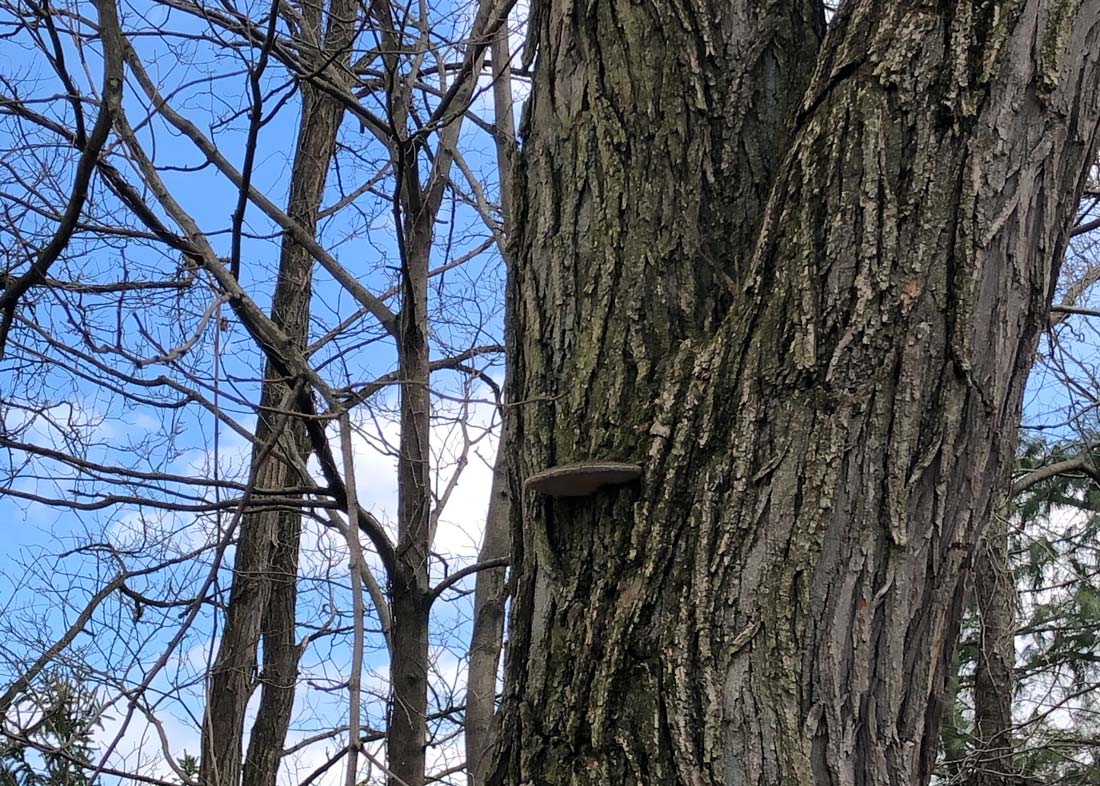
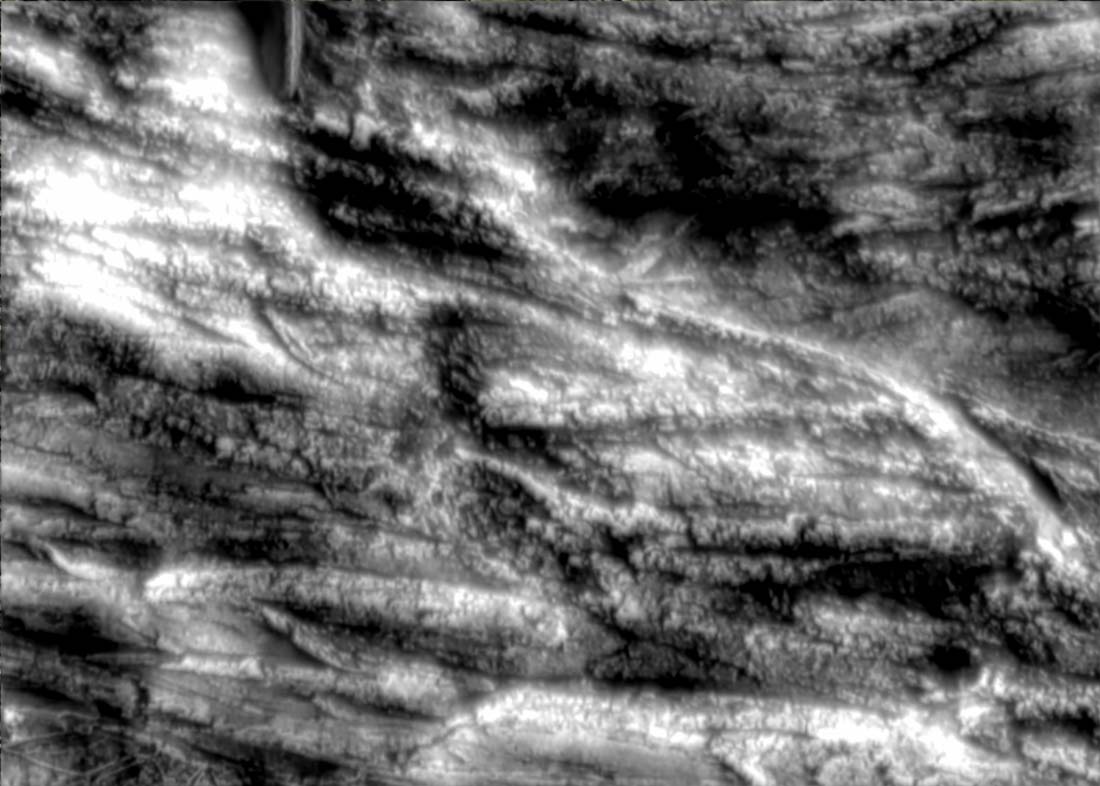
Zoom in and you’ll notice that the bark is not very detailed. To add more realism to the model I went outside and photographed a number of tree trunks. I turned the textures and patterns on the bark into height maps. I loaded those height maps as brush alphas in ZBrush and used them to sculpt realistic natural details - along with a rounded tip - on the scanned twig.
After I was done manipulating the 3D mesh I exported to file and had i.materialise cast it in bronze. It arrived 10 days later. I exposed the cast twig to liver of sulfur to oxidize the metal which I then selectively polished, making sure to leave the oxidation in the nooks and crannies of the bark texture alone. I buffed the branch using a polishing wheel to bring out details and bronze highlights on the sculpted bark.
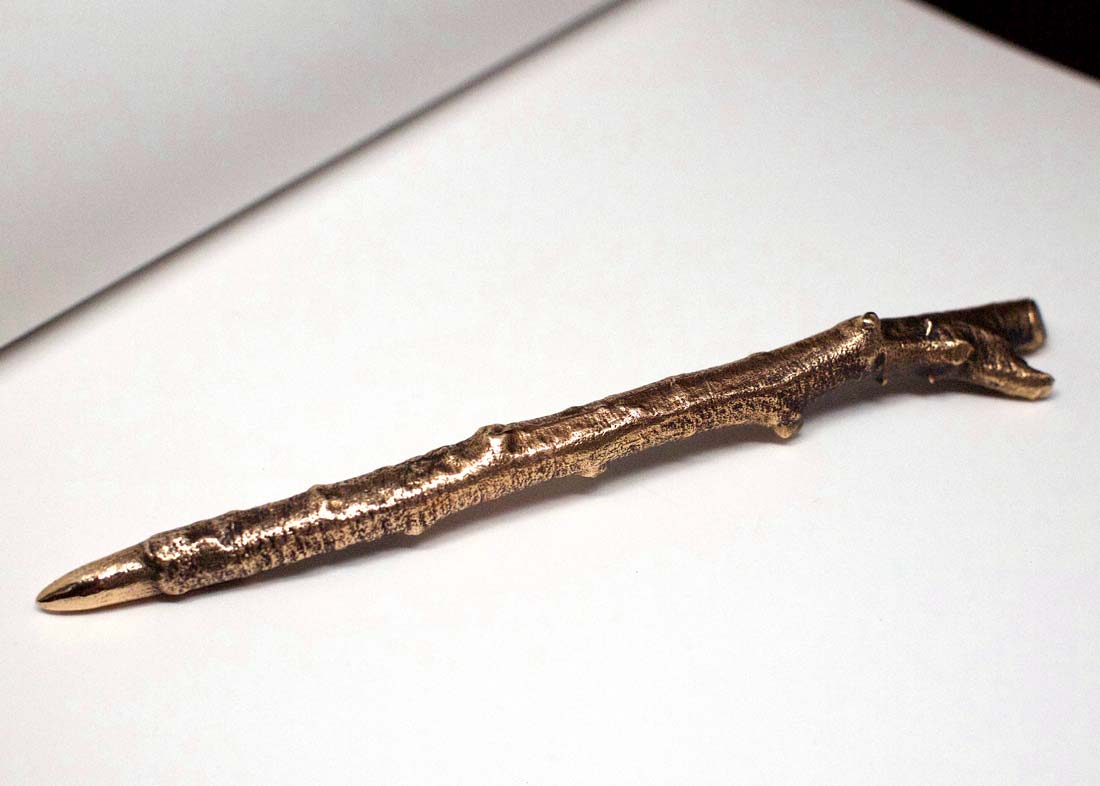
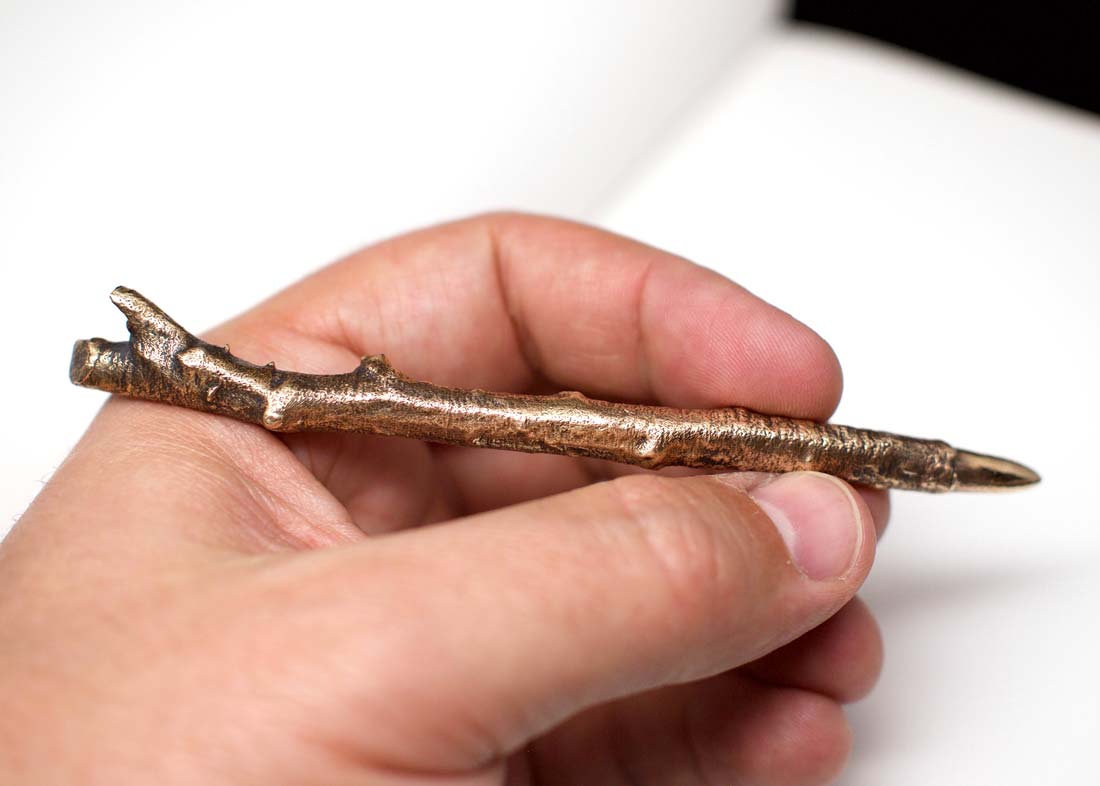
The silver stylus writes better but the bronze branch is a novel item to have on my desk.

Epilogue
Excitement versus contemplation; the former is a powerful catalyst for creation but the latter but can get short circuit thoughtful design. After I had purchased the silver rod, hammered out a stylus, and started the bronze casting process a friend mentioned a type of inkiness pen called an Ethergraf. (See the comments in the video.)
Developed by renowned design studio Pininfarina, these writing instruments are made from a special alloy oxidizes the surface on which it is placed. It writes on normal paper as well as stone paper (curiously, it does not work on Post-It notes). There is even an ethergraf pen on the international space station.
I ended up finding one on eBay for a decent price. I also found ethergraf tips!
In my excitement for writing with metal, I hadn't even considered just making a silver tip and then mounting that on wood or some other material. I have no regrets. I learned many things creating my silver and bronze styli. But, I'll attempt to better temper my excitement in future endeavors with a bit more reflection.

It’s still very cool to write with an inkless pen, be is a rod of hammered silver, a 3D scanned Japanese branch cast in bronze, or an Italian made Ethergraf pen made by Pininfarina Aero.
Selected Works


J O Y C O M P L E X / Copyright MMXIV-MMXXII / Privacy Policy / Terms & Conditions